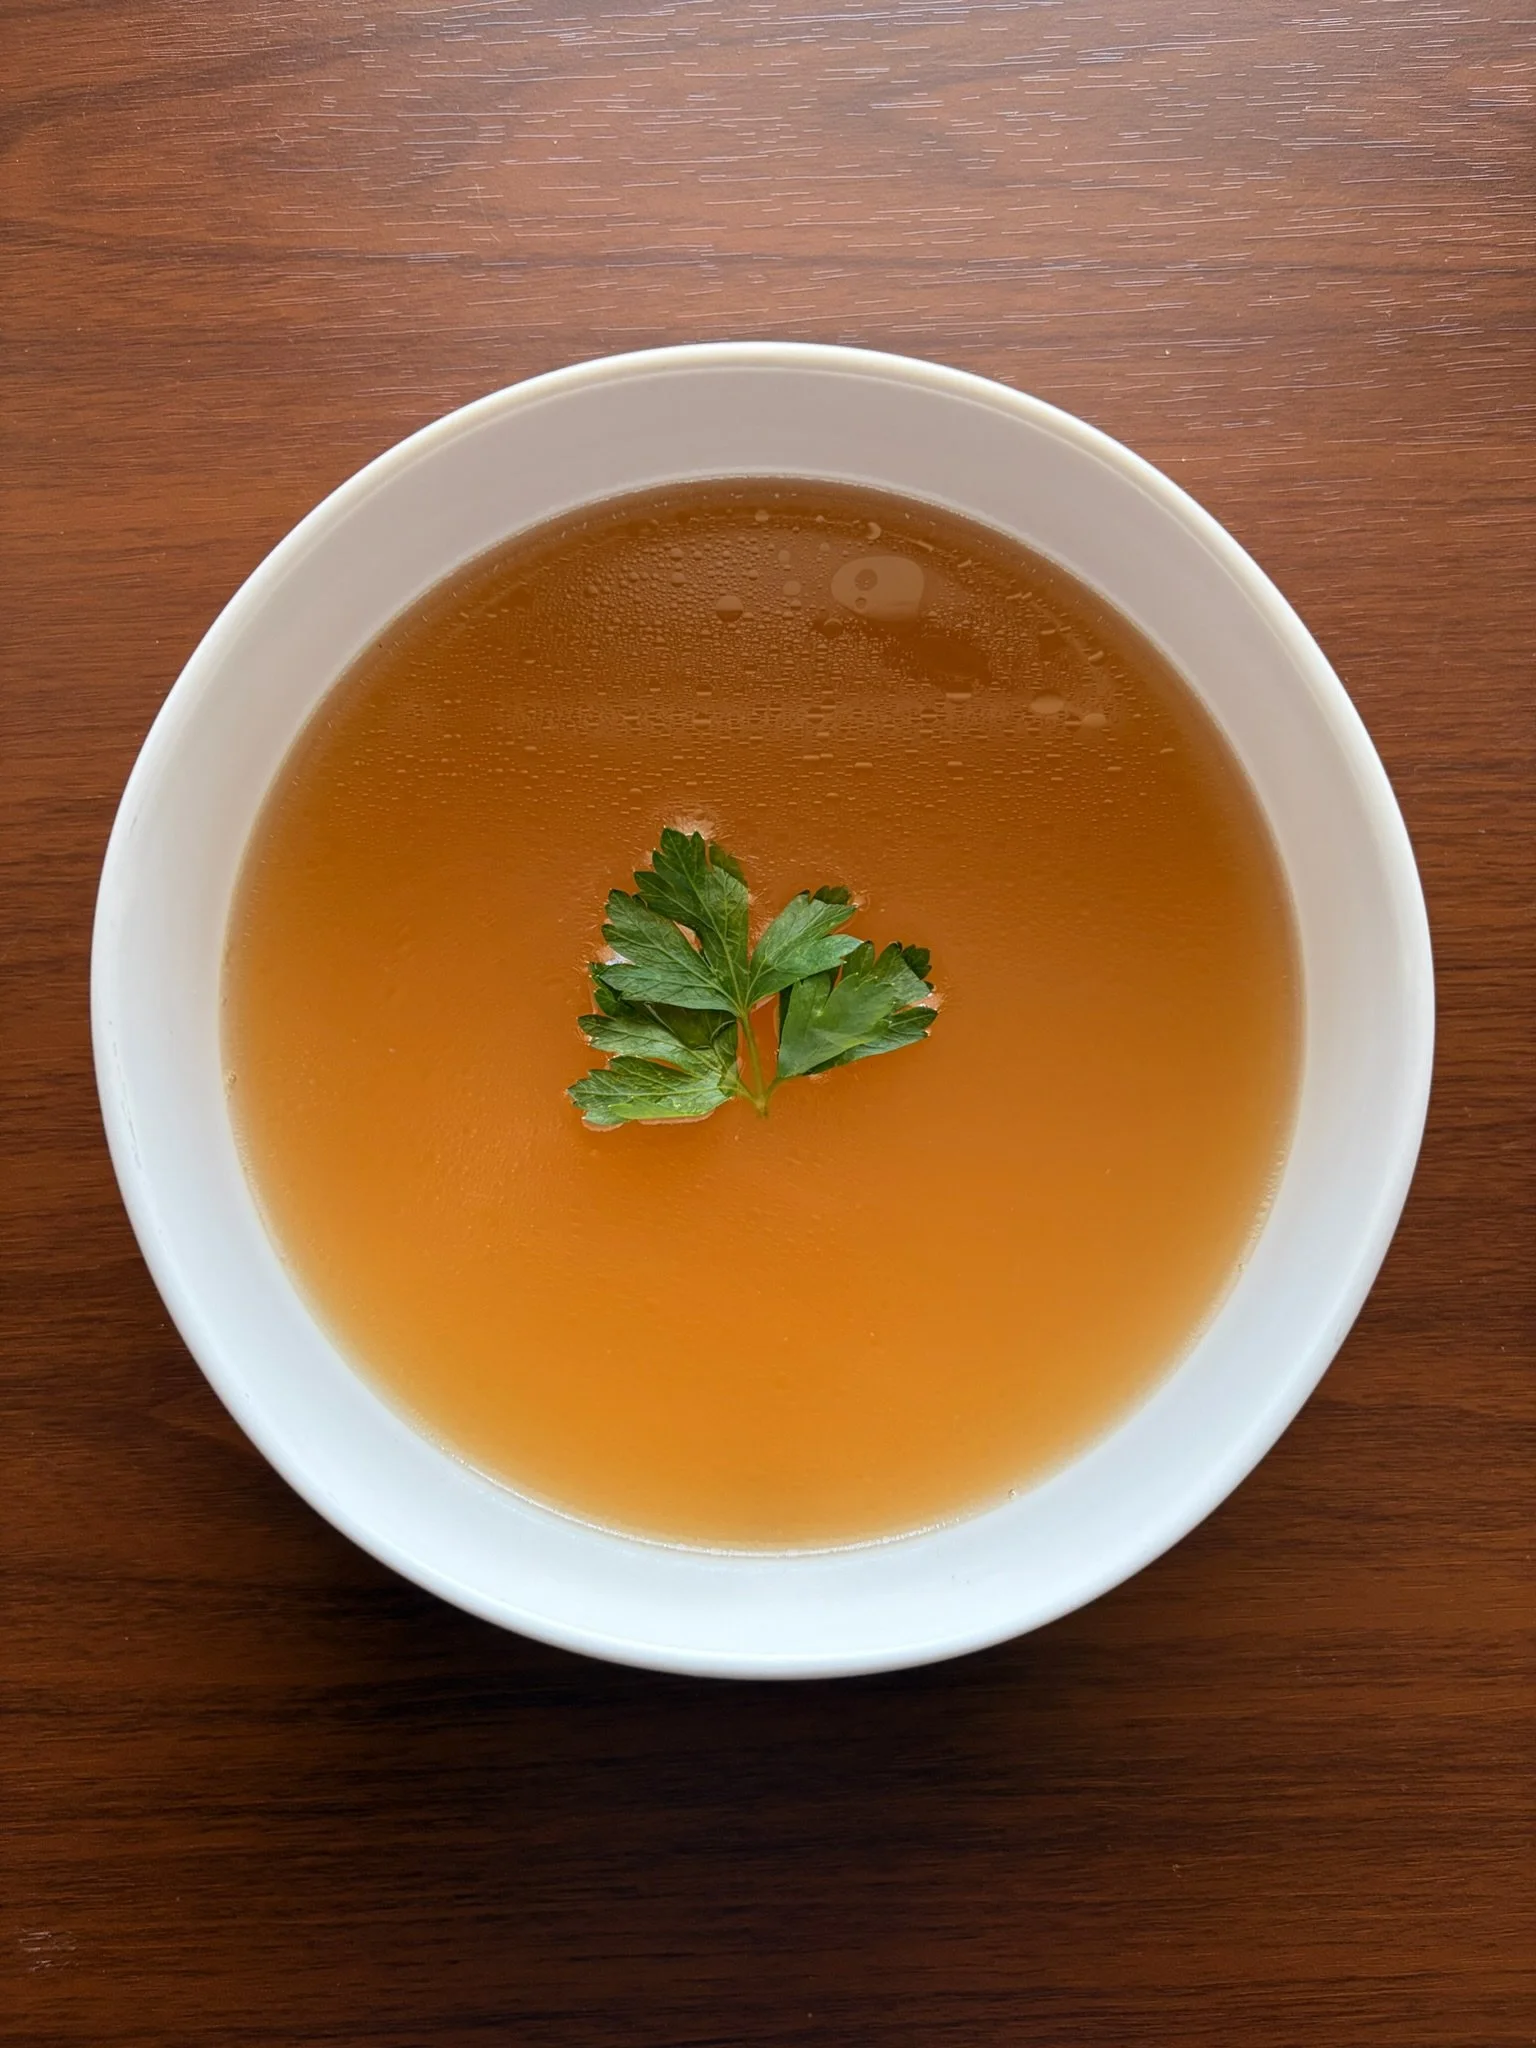
collagen rich liquid gold — made with chicken feet for maximum collagen so it turns into a full on jiggly gel once chilled 🐔✨ low and slow for 6-8 hours and your kitchen will smell like a warm hug the whole time. 🫶
Ingredients
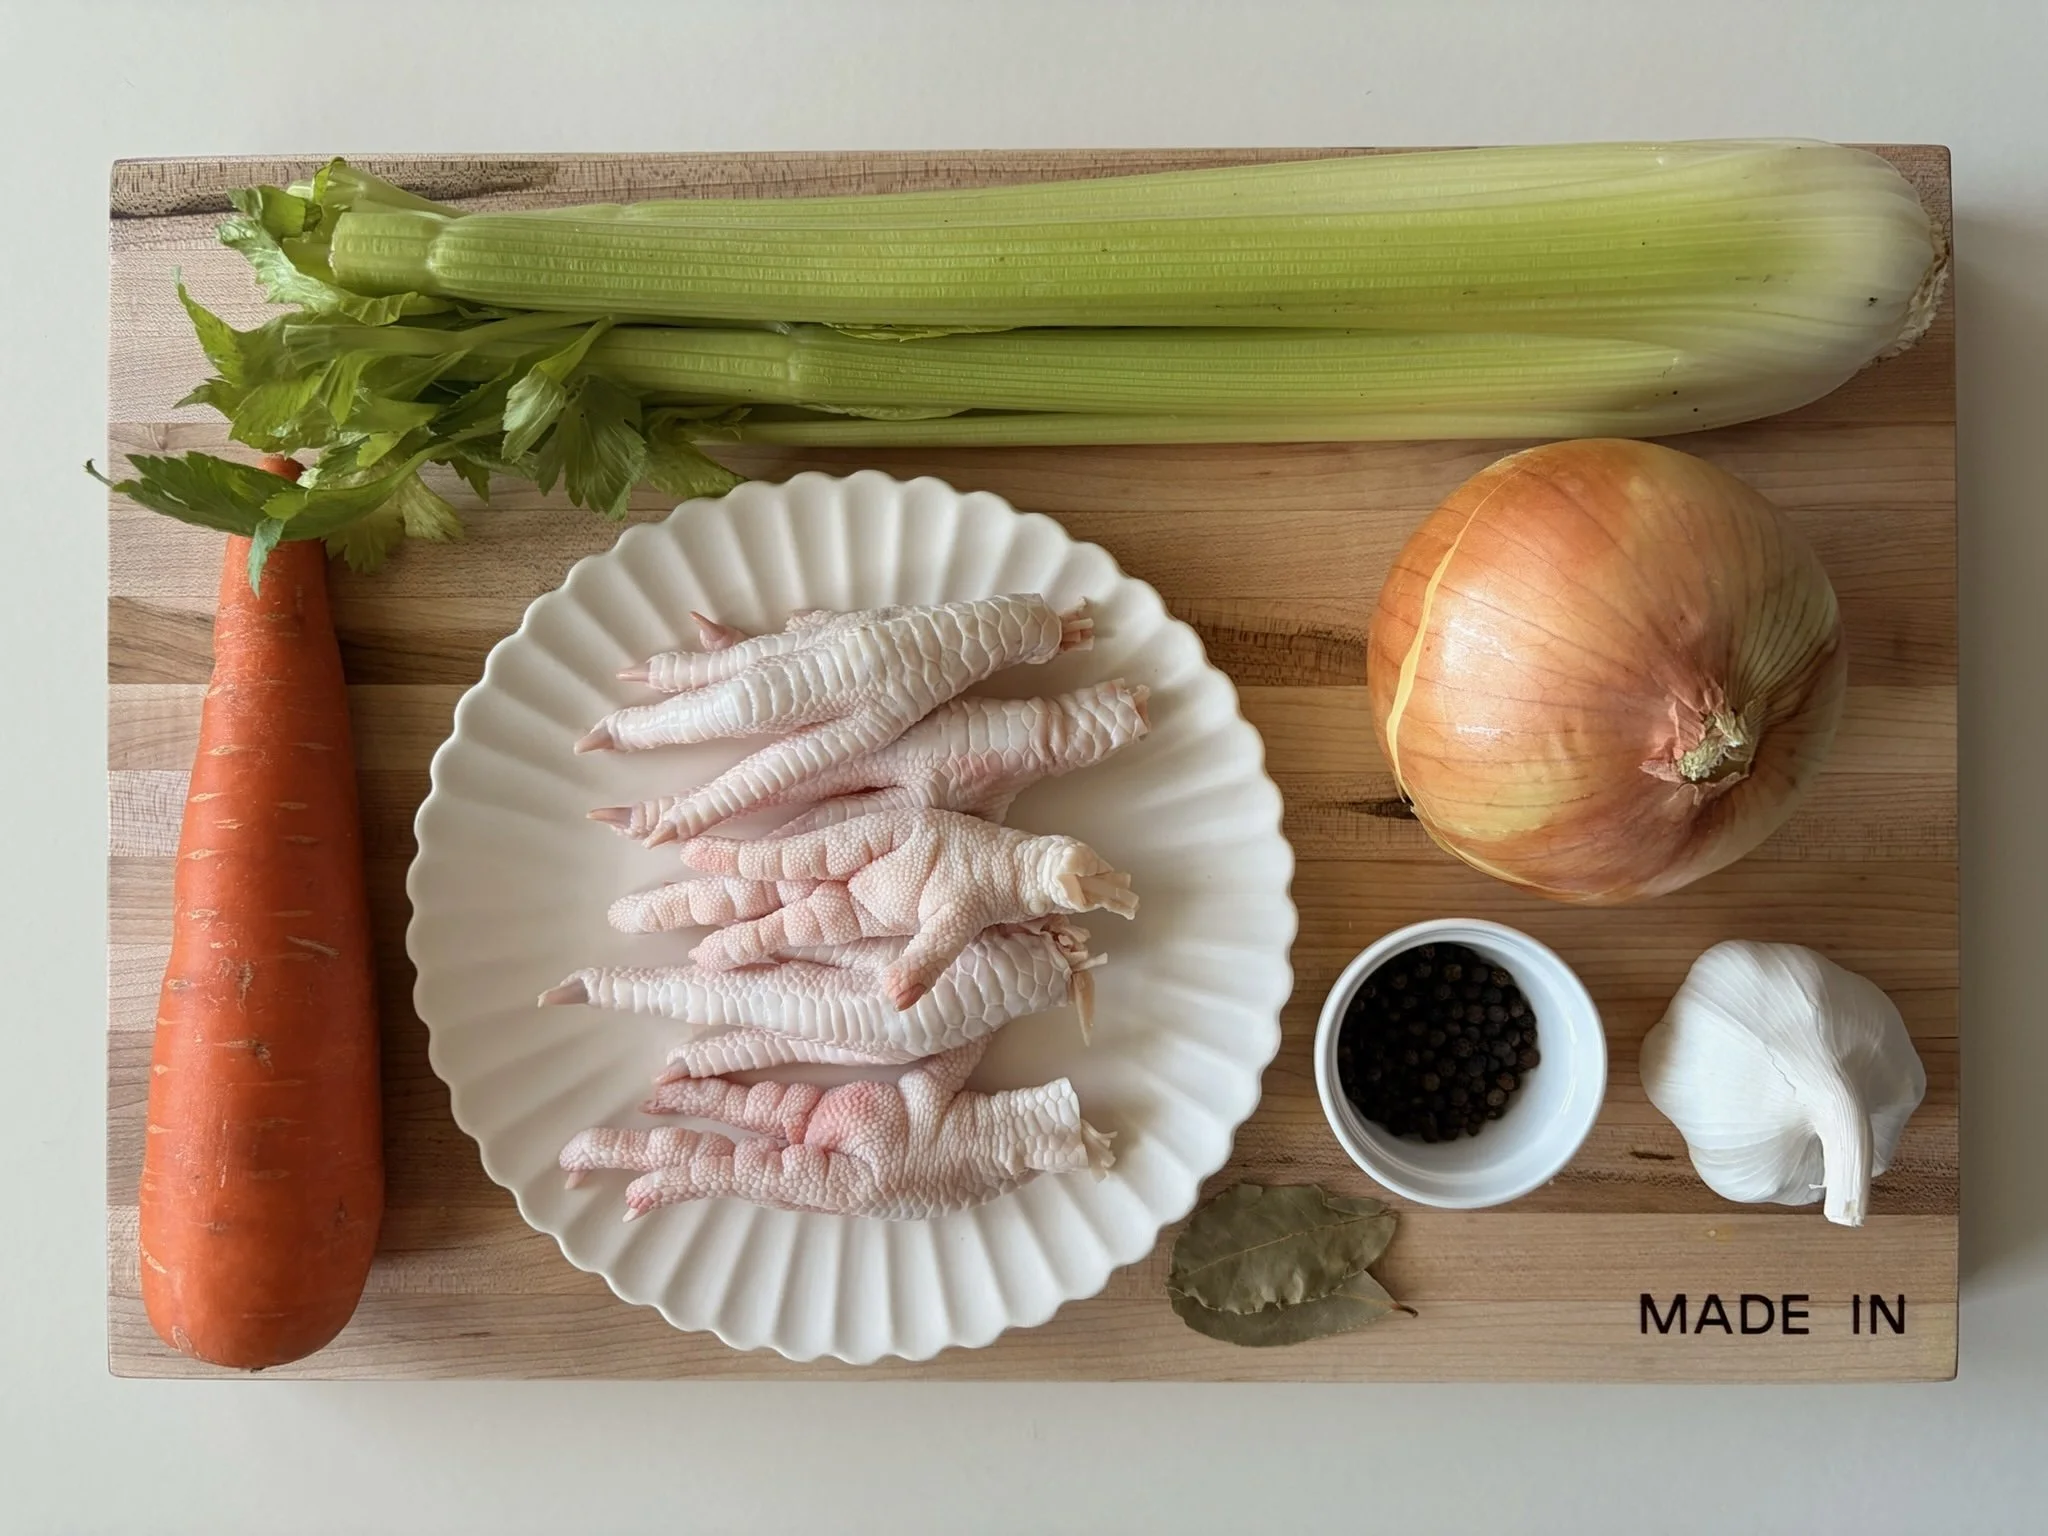
2 lbs chicken feet, cleaned
3 celery stalks, roughly chopped
2 carrots roughly chopped
1 large yellow onion, quartered (skin on is fine)
1 whole head of garlic, peeled
1 medium fresh ginger
1 tbsp black peppercorns
2 bay leaves
1 tbsp apple cider vinegar
water, enough to cover by 2 inches
optional: fresh thyme, korean radish
Makes 3 QTs
Prep time ~45 mins
Cook time ~6-8 hrs
Cooking Instructions
WASH YOUR VEGGIES
Wash and prep your carrots, celery, ginger, radish and herbs before getting started.
Prep & roast the chicken feet
Pre-heat the oven to 400.
DO NOT rinse your chicken feet. When you roast them, it’ll kill ALL the bacteria. However, if that is not enough for you, you can parboil the chicken feet for about 5-8 mins to remove the scum. After you parboil, rinse the chicken feet and add to a baking sheet to roast.
Optional - trim the toes…i know…it’s going to be weird if this is your first time. Trim the nail portion of the feet and add to a baking sheet to roast.
Lightly spray or coat the chicken feet with olive or avocado oil and salt them generously.
Roast for 45 mins or until golden brown.
Build the pot
Once the chicken feet is done roasting, add the chicken feet, black peppercorn, and bay leaves to a large stockpot.
Cover with COLD water by about 2 inches and stir in the apple cider vinegar — this helps pull more collagen out of the feet.
Simmer low and slow
Bring to a boil, then immediately drop to the lowest simmer possible.
Skim off any foam that rises to the top during the first hour.
Let simmer on low uncovered for 6-8 hours, topping off with water if it dips below the ingredients.
simmer MINIMUM 6 hours, but can definitely go for 8 to build more flavor and depth
Build the flavor
2 hours before you plan to turn it off, preheat your oven again to 350, add the roughly chopped carrots, celery, onion, radish, ginger, and garlic to a baking sheet for about 45 mins.
Add all the veggies to the stock pot, add more water to cover if needed.
Let this simmer for the remaining time — at least 1 hour.
Strain and chill
At this point, the veggies are cooked through. The reason i like to do the veggies last is so you can reuse it instead of throw it out.
Use a mesh strainer to scoop out the veggies you want to save. I usually save the carrots and radish to make soup.
For the rest, strain through a fine mesh strainer and discard the solids.
Careful its hot! I usually prep a disposable bag in a large bowl to cool and easily toss
Let cool slightly, then refrigerate. It should set into a wobbly jiggly gel once fully chilled — that's the collagen doing its job.
I usually put the whole stock pot in my fridge, covered overnight. Then scoop the jelly like collagen rich stock into containers
If you don’t have room in your fridge, after letting the broth cool, scoop into containers and refrigerate.
If you plan to freeze any of it, DO NOT FILL the container, leave about 1 inch from the top and cool completely before freezing. The water will expand and the container could “explode” or pop over.
Tips & Notes
When roasting, i avoid lining with aluminum foil because the chicken feet WILL stick to it. Roast directly on the baking sheet or on parchment paper.
Do not add too much oil when roasting chicken feet or veggies, that oil will build up on top of your broth.
A jiggly, gel-like texture once chilled means you did it right — that's the collagen talking.
Skim the fat layer off the top once chilled for a cleaner broth, or leave it in for extra richness.
Store in the fridge for up to 5 days, or freeze in portions for up to 3 months.
Sip it straight, use it as a soup base, or cook your rice in it for an instant upgrade.